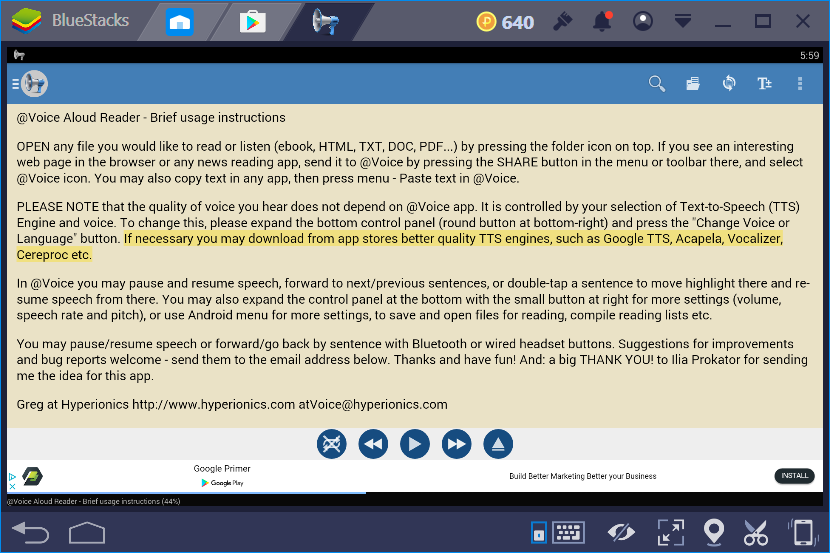
How to use @Voice on Windows computer, using BlueStacks Android emulator
This is a brief explanation assuming you have the latest version 3 of
BlueStacks installed:
1. Start BlueStacks, wait until "Starting the engine..." message at the bottom disappears. If you start it for the first time, you would need to enter a Google account (usually a gmail address and password), just like activating any new Android phone or tablet.
2. Click "My Apps" tab on top
3. Click "System app" icon inside BlueStacks window
4. On the next screen click "Google Play". When Google Play store app starts, type "@Voice Aloud Reader" into the white search box on top.
5. Install @Voice from there. You will have @Voice icon on the Home tab of BlueStacks window, and also on your Windows desktop.
6. Also in Google Play, type "Google TTS" into the search box and install that product. You need TTS voices it provides for reading aloud.
Now you can use @Voice from BlueStacks window as if it was a Windows program. If you need to open a file from Windows file system, best copy that file to the Documents folder inside your Windows user folder. Then in @Voice press Open button on top (folder icon), click the "../(partent directory)" line several times until on top it shows "Location: /storage/sdcard", then click "windows" - Documents, click on your file, click "Select" button. Read or listen in @Voice.
If you want to open a web page that you have in your Windows web browser, simply copy its web address from the browser, then in @Voice press menu button (3 vertical dots at top-right) - Paste Text. @Voice will load the page text and read it aloud. Or you may copy any arbitrary text anywhere in Windows, then paste it into @Voice for reading aloud.

Greg
post edited by Admin - 2018/04/13 20:36:06
Attached Image(s)
